Install latest JDK and Tomcat/Jboss Server
Install the Eclipse open source
Install flex 3 builders or Flex plug-in for eclipse
add flex plug-in to eclipse
Open eclipse
Select Help>>software updates>>Find and install
Select "Search for new features to install" proceed to next
click on "New local site" and select the Flex 3 plug-in path
eg:"X:\Program Files\Adobe\Flex Builder 3 Plug-in\com.adobe.flexbuilder.update.site"
goto file and create new "Flex project" name the project "Helloworld"
now a new file will be created
Helloworld.mxml
the file contain the following code
<?xml version="1.0" encoding="utf-8"?>
<mx:Application xmlns:mx="http://www.adobe.com/2006/mxml" layout="absolute">
</mx:Application>
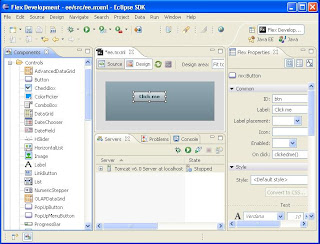
goto "Design" mode
insert button to the project , then click on "source" mode
now the code is
<?xml version="1.0" encoding="utf-8"?>
<mx:Application xmlns:mx="http://www.adobe.com/2006/mxml" layout="absolute">
<mx:Button x="382" y="148" label="Button"/>
</mx:Application>
Create an id for the button and change its caption
and then add a function to the button, now the code become
<?xml version="1.0" encoding="utf-8"?>
<mx:Application xmlns:mx="http://www.adobe.com/2006/mxml" layout="absolute">
<mx:Button x="382" y="148" label="Click me" id="btn" click="clickedme()"/>
<mx:Script>
<![CDATA[
import mx.controls.Alert;
private function clickme():void{
Alert.show("Hello world");
}
]]>
</mx:Script>
</mx:Application>

now your first project is finished
to build the project, goto Project>>build Project
to run the project, goto Run>>Run as>> Flex Application

No comments:
Post a Comment